If you want to customize soap down to the last ingredient, cold process is a great option. You get to choose the oils, colorants, scents, and more. Once you find your perfect recipe you can start getting creative with the designs.
Cold process soap is made by combining oils and sodium hydroxide lye. That causes a chemical reaction called saponification. Melt and pour soap has already gone through that process – learn more about working with it here.
Below you’ll find cold process terms, safety tips, and a list of the equipment you need to get started.
COMMONLY-USED TERMS
Trace: This is the point when the oils and lye water are emulsified. At thin trace, there will be no streaks of oil and the soap will be the consistency of thin cake batter. As the soap sits, it will continue to thicken to medium and thick trace. This video has more information and examples of each stage.
Gel phase: During gel phase, soap gets as hot as 180°F and develops a gelatinous appearance. Learn more in the Jazzed About Gel Phase post. Gelled soap has a brighter color and a slightly shiny appearance. It can also be unmolded more quickly. Some makers force their soap through gel phase with blankets and heating pads. However, gel phase isn’t required – it’s personal preference. It only affects the look of the bars, not the quality. Ungelled soap has a more matte appearance. You can prevent gel phase by putting soap in the freezer for 24 hours. Learn how to force it or prevent it in the When to Insulate Handmade Soap post.

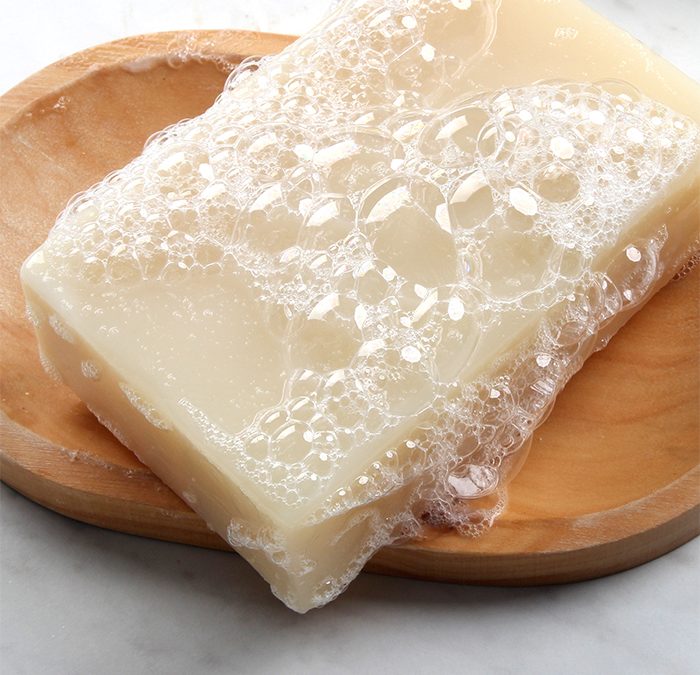
Curing: Technically, cold process soap is safe to use after a few days. However, we recommend letting the soap cure for 4-6 weeks in a cool, dry place with good airflow. Excess water will evaporate, which creates harder and milder bars that last longer in the shower. It’s definitely worth the wait.
Lye Calculator:This tool makes formulating cold process recipes easy. All you have to do is enter the oil weight or percentage and the Lye Calculator will give you the lye and liquid amount you need for your recipe. It also calculates the superfat level. Learn how to use the Lye Calculator here.
Soda ash: This creates an uneven, white, ashy film on soap. It forms when unsaponified lye reacts with naturally-occurring carbon dioxide in the air. It doesn’t affect the quality and the soap is safe to use. However, it can obscure more intricate designs or make the bars feel crumbly. You can prevent it with a few tricks, including a 10% water discount and gel phase. Learn more in the Explaining and Preventing Soda Ash post.
LYE SAFETY
Lye is a highly corrosive product. It’s safe to use as long as it’s handled properly. Before getting started, make sure to watch this video or read this post about lye safety. Make sure there are no kids, pets, or other distractions in the room when you’re making soap and always do so in a well-ventilated area. You’ll need the following items to work with lye.
Gloves: Rubber dish gloves that go almost to the elbow work great, but they can be bulky. Thinner nitrile or latex gloves provide protection without the bulk. Whatever you choose, they should be paired with long sleeves.
Goggles: Alkali burns are extremely dangerous for your eyes. Your safety goggles should protect them from all sides, so regular glasses aren’t sufficient protection. If you wear glasses, make sure to get goggles that fit over them.
Long sleeves, pants, and close-toed shoes: Protect yourself from unexpected splashes by covering any exposed skin.
Face mask: This is an optional step. If you’re sensitive to lye fumes or if you’re making large batches, you can wear a dust mask.
EQUIPMENT
Any equipment used for soapmaking should be exclusive – don’t use it for food. Lye and fragrance can get stuck in cracks, even with thorough washing. We also recommend hand washing instead of using the dishwasher. Learn more about how to clean soapmaking tools in this post.
Containers: We recommend heat-safe glass, plastic, or stainless steel bowls. Don’t use aluminum – it can react with the lye and create toxic fumes.
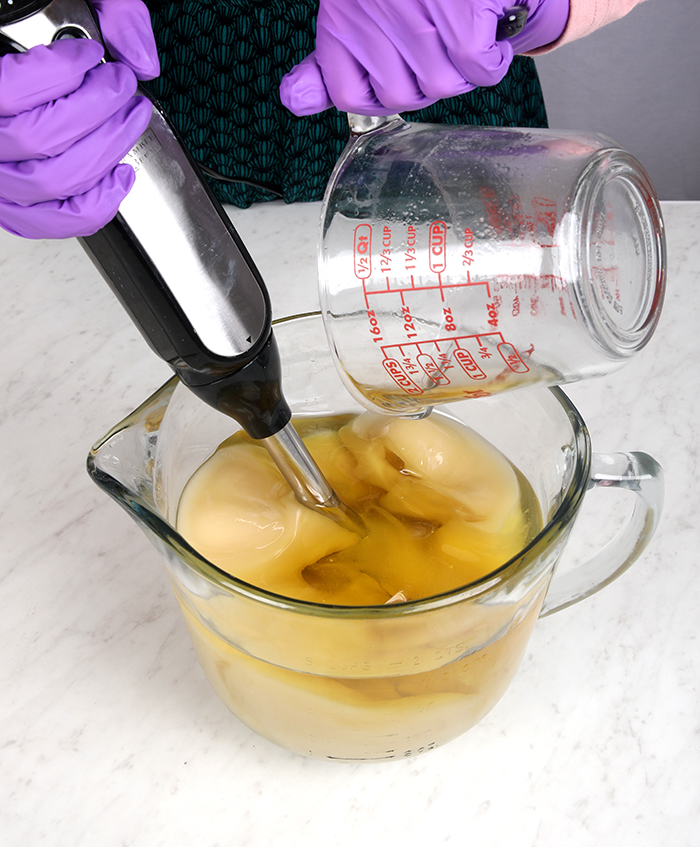
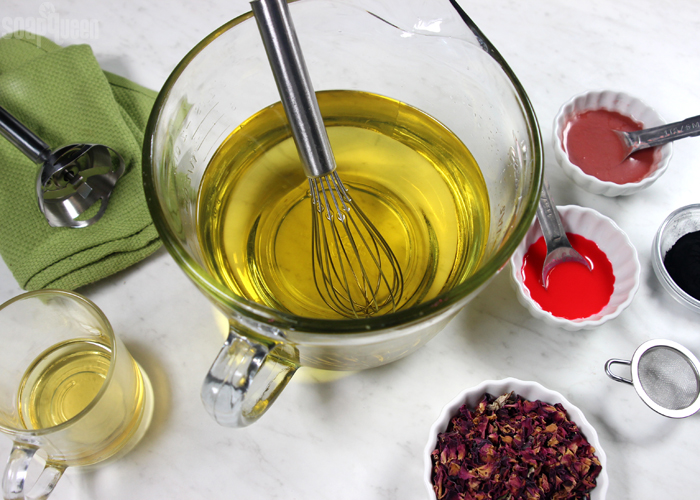
Stick/immersion blender: Using a whisk or stand mixer can take hours. Stick blenders emulsify the soap in just a minute or two, so it’s worth the investment.
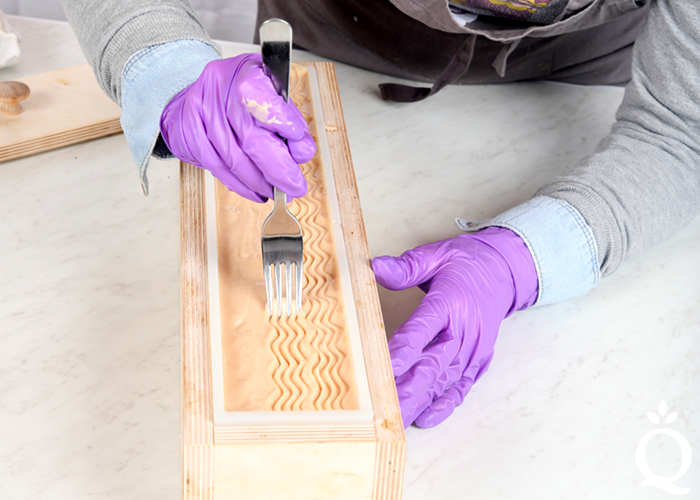
Silicone spatulas and spoons: Use these to scrape every last bit of soap out of your container and into the mold. They’re also great for smoothing the top or creating texture.
Scale: For accuracy, all of our soap recipes are measured by weight instead of volume. This is a good $20 starter scale.
Soap molds: There are plenty of options to choose from. This post can help you decide which one is right for you.
- Silicone molds: These molds are easy to use, unmold, and clean. They’re a great option for beginner and advanced crafters.
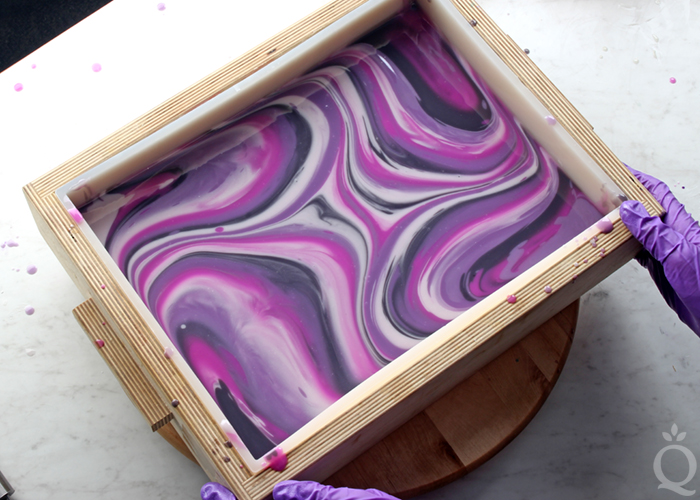
- Wood molds: These are great for large batches and they make it easy to force gel phase. They need to be lined with freezer paper or a silicone liner.
- Plastic molds: You can use these for cold process, but they do require a few extra steps. We recommend a recipe with lots of hard oils and sodium lactate to help the bars come out cleanly and quickly. Get more tips here.
Beginner Recipes
Simple and Gentle Soap
Simple Castile Soap
Menthol Crystal Soap
Simple Coffee Soap
Swirled Rose Soap
Intermediate Recipes
Chopped Embed Soap
Crescent Moon Soap
Swirled Orchid Soap
Pink Salt and Gold Soap
Moonstone Soap
Advanced Recipes
Safflower and Ginger Soap
Siren Soap
Birchwood Oud Soap
Cactus Flower Soap
Chocolate Peppermint Soap Cupcakes
More Cold Process Resources
Common Soapmaking Oils
Formulating Cold Process Recipes
How to Color Handmade Soap
Back to Basics Series Roundup
Using the Bramble Berry Fragrance Calculator
Author: Bramble Berry Recipe